

Shopping carts
Users can create one or more shopping carts. Upon creation, the user can decide whether their shopping cart will be public (appear in public search results) or private (for their own use only).
Users can then decide to put a dataset or an asset in a designated shopping cart.
Creating a shopping cart
To create a shopping cart, use the sidebar menu of TIBCO Cloud™ Metadata and click on the cart icon.
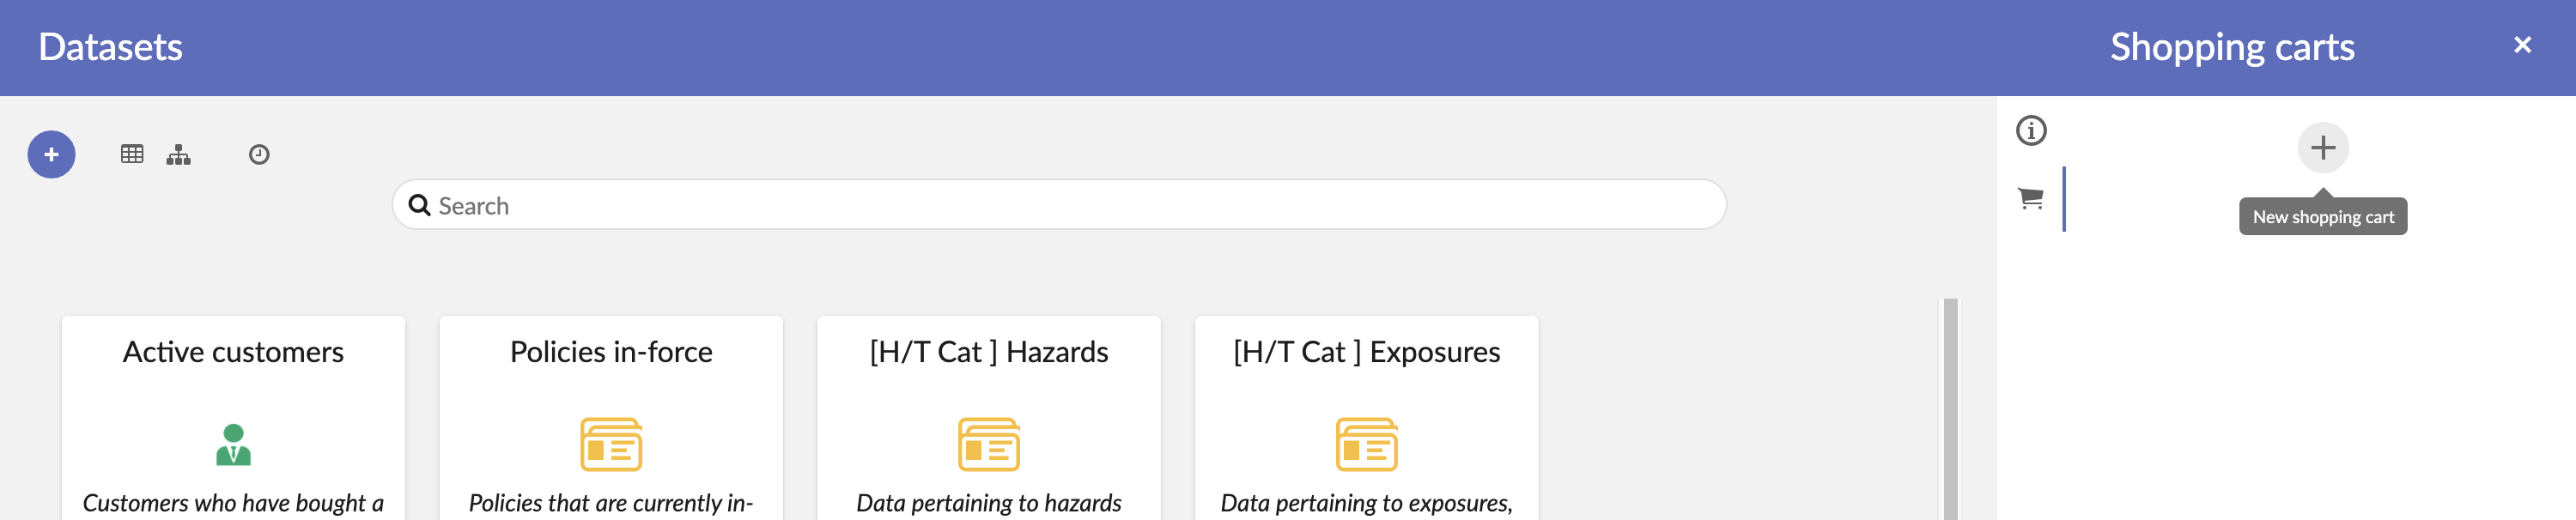
Then click on + to create an new shopping cart, and chose its name, description and visibility (public/private).
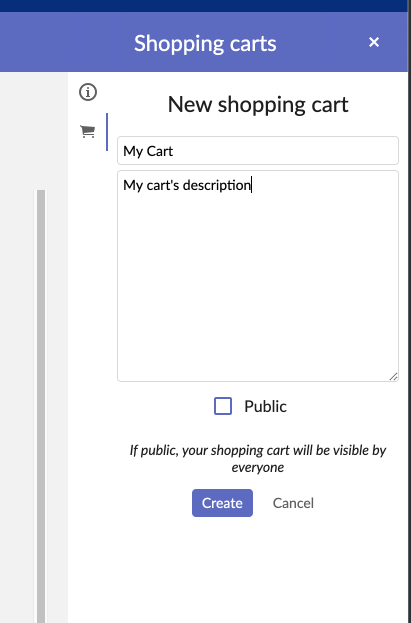
The click on Create to finalize the shopping cart creation.
Once created, a confirmation banner appears.
Adding elements to a shopping cart
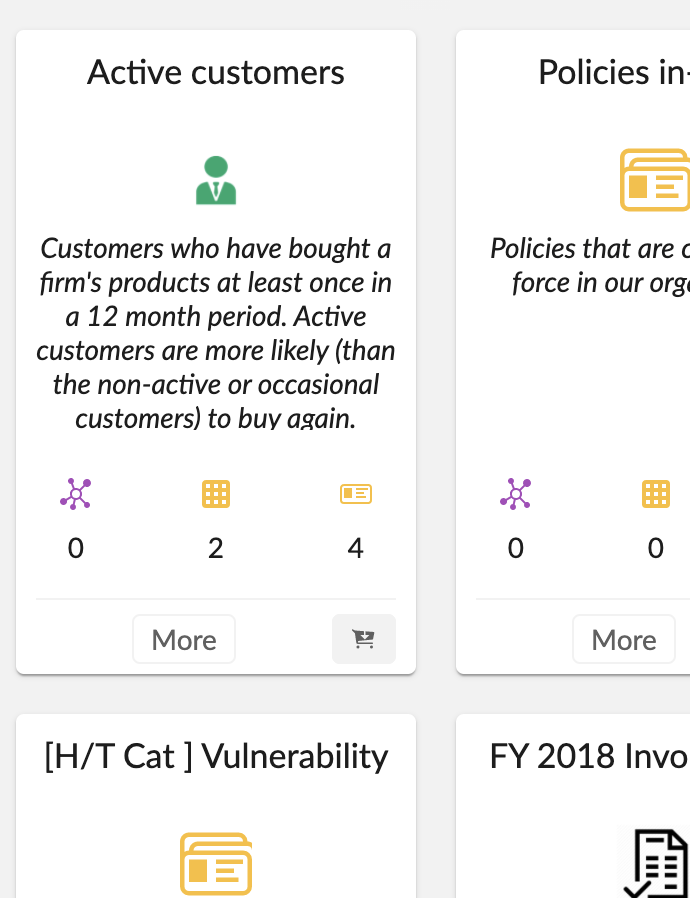
Once a cart has been created, users will be able to add datasets or assets to their cart or to any public carts.
On card view mode, click on the cart icon of the wanted item to add it to a shopping cart.
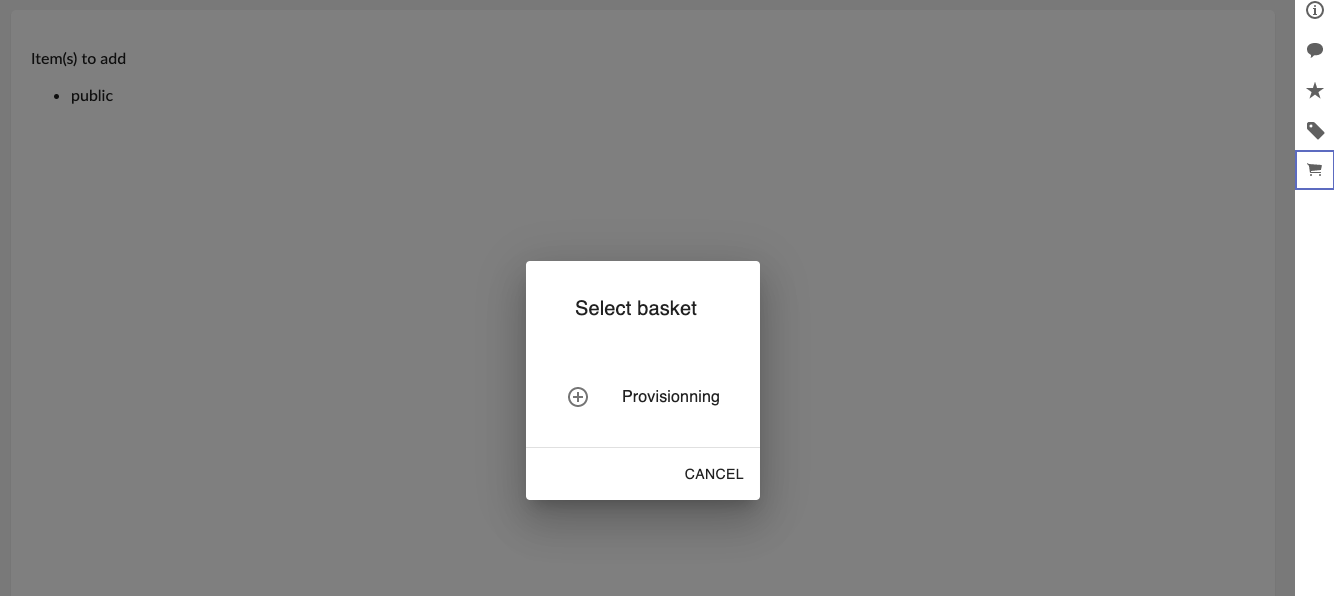
The list of available carts will be displayed. Chose the cart wanted and click on ‘+’.
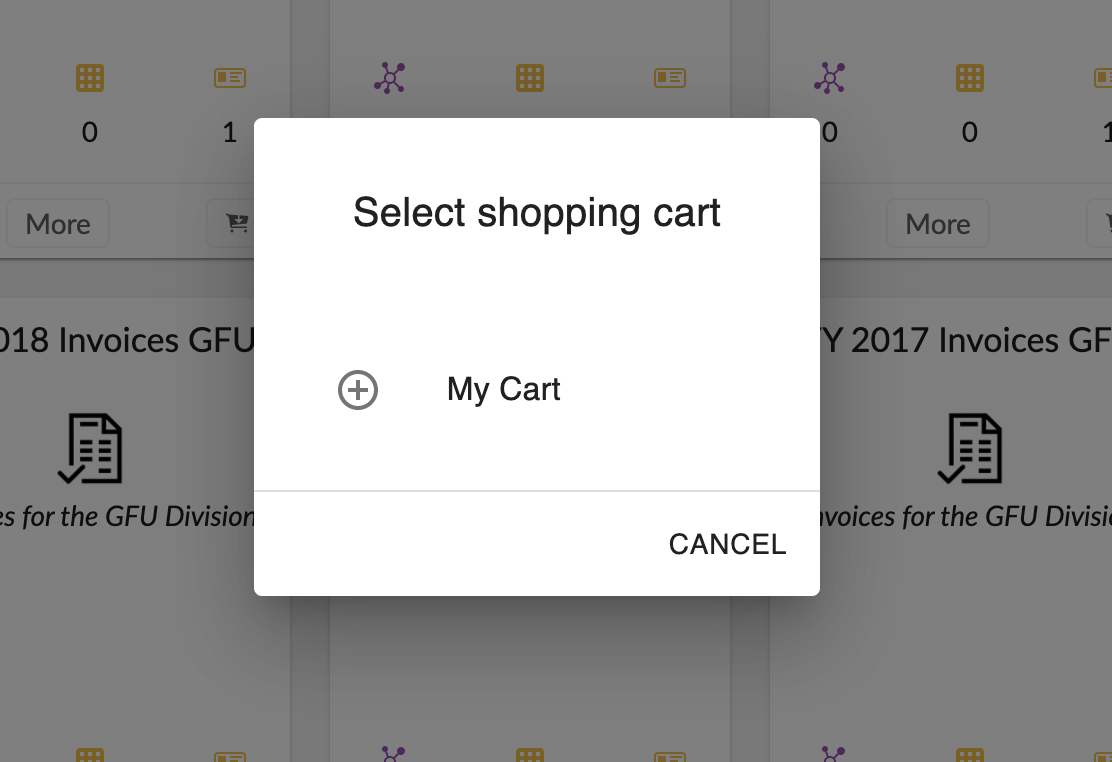
A same element can be placed in several shopping carts.
Once added, a confirmation banner appears.
On form view mode, click on the cart icon of the wanted item to add it to a shopping cart.
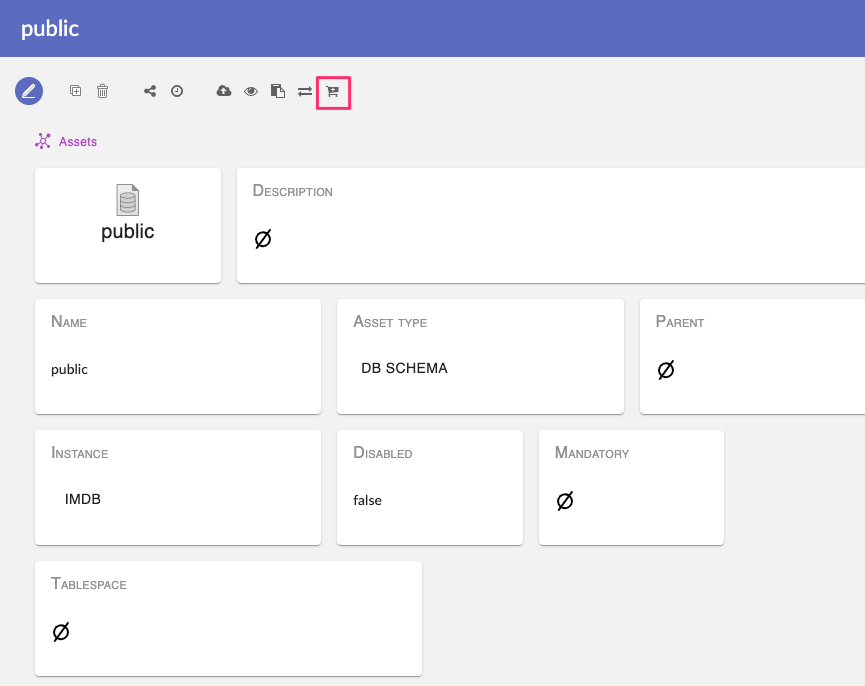
The list of available carts will be displayed. Choose the cart wanted by clicking on the “+” icon or create a new one from the right sidebar.
Once added, a confirmation banner appears and you will be automatically redirected to asset/dataset form view.
On table view mode / hierarchy view mode, select one or multiple asset / dataset and click on the cart icon to add items.
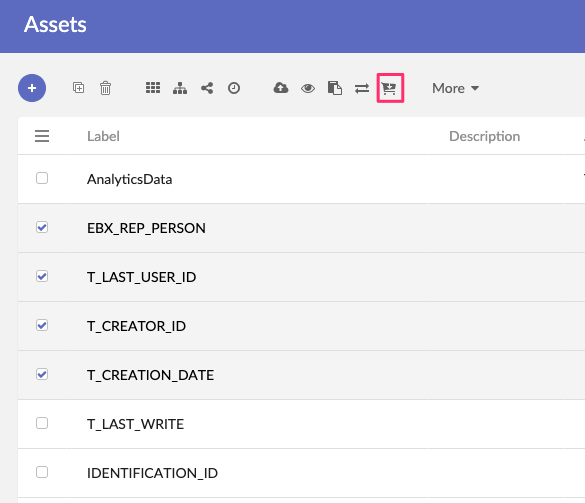
The list of available carts will be displayed. Choose the cart wanted by clicking on the “+” icon or create a new one from the right sidebar.
(Note : if one items of the selection is already in the shopping cart, you will not be able to select shopping cart)
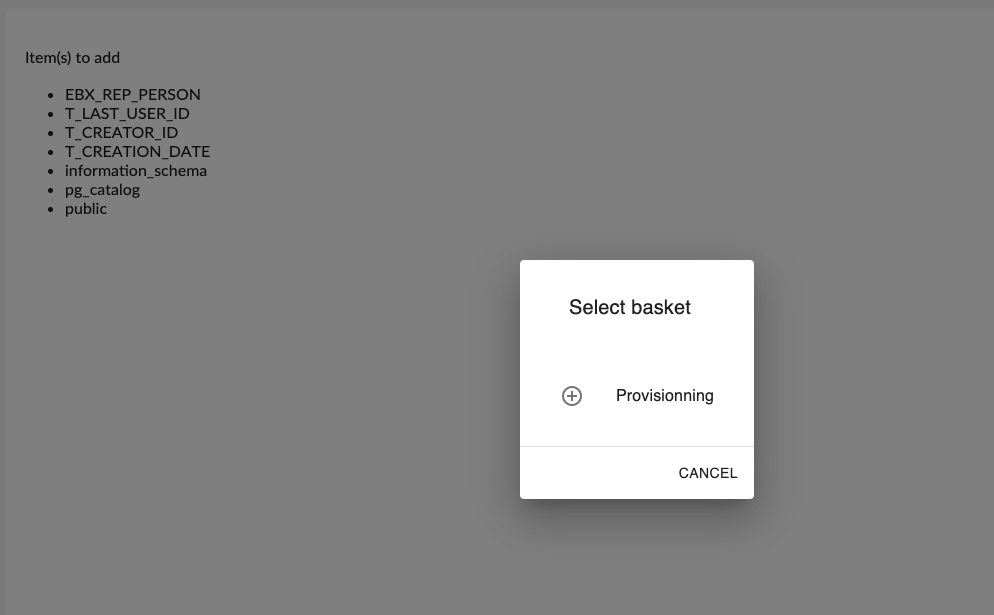
Behind the dialog box, you will see your current selection from the previous view.
Once added, a confirmation banner appears and you will be automatically redirected to table/hierarchy view.
Cart view
Then you can go back to you Cart, and use the drop down list to see its contents.
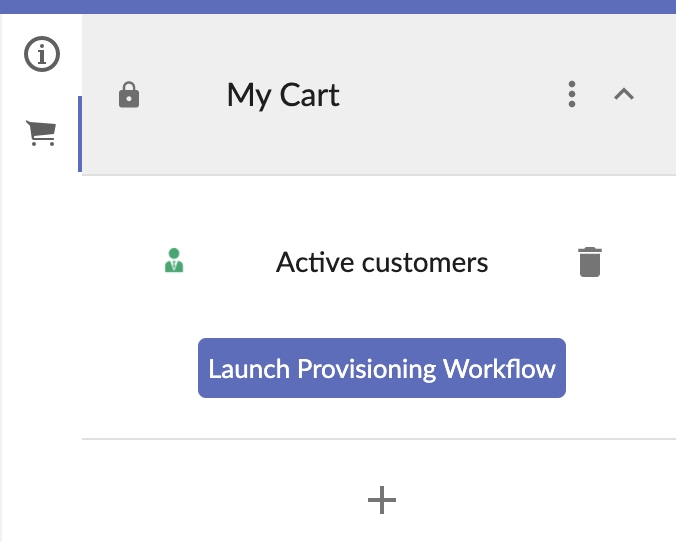
Launch Provisioning Workflow
When clicking on the ‘Launch Provisioning Workflow’, you will be able to create a TDV Published View with the contents of your shopping cart. See more details on this page