

Provisioning
Provisioning is a process allowing to define a view aggregating several assets, coming from assets selection or datasets selection. In the case of datasets, the preferred asset will be used.
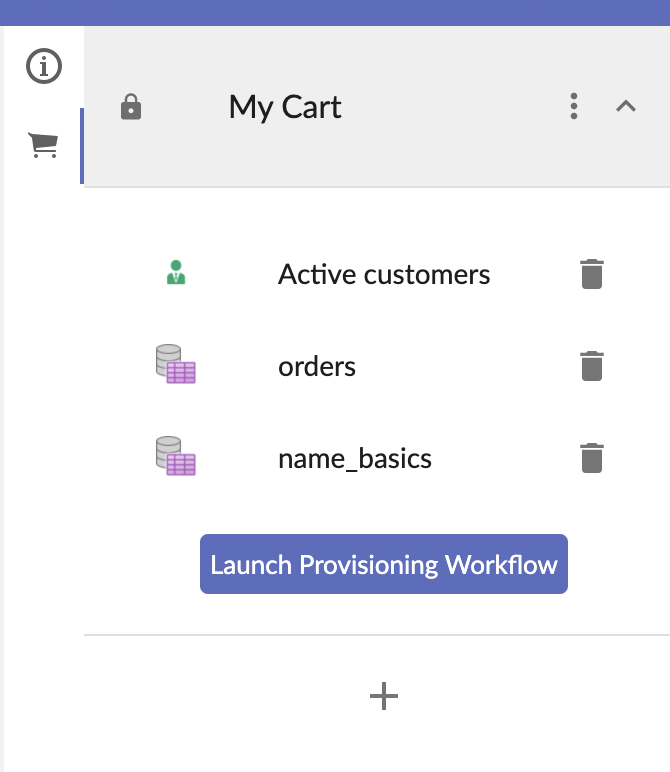
The shopping cart process allows to define this aggregation, comment it, and share it with other users (when shopping cart is public).
Once the shopping cart is finalized, you can launch the Provisioning workflow.
First step : content analysis
TIBCO Cloud™ Metadata will display what can be done with the contents of the shopping cart.
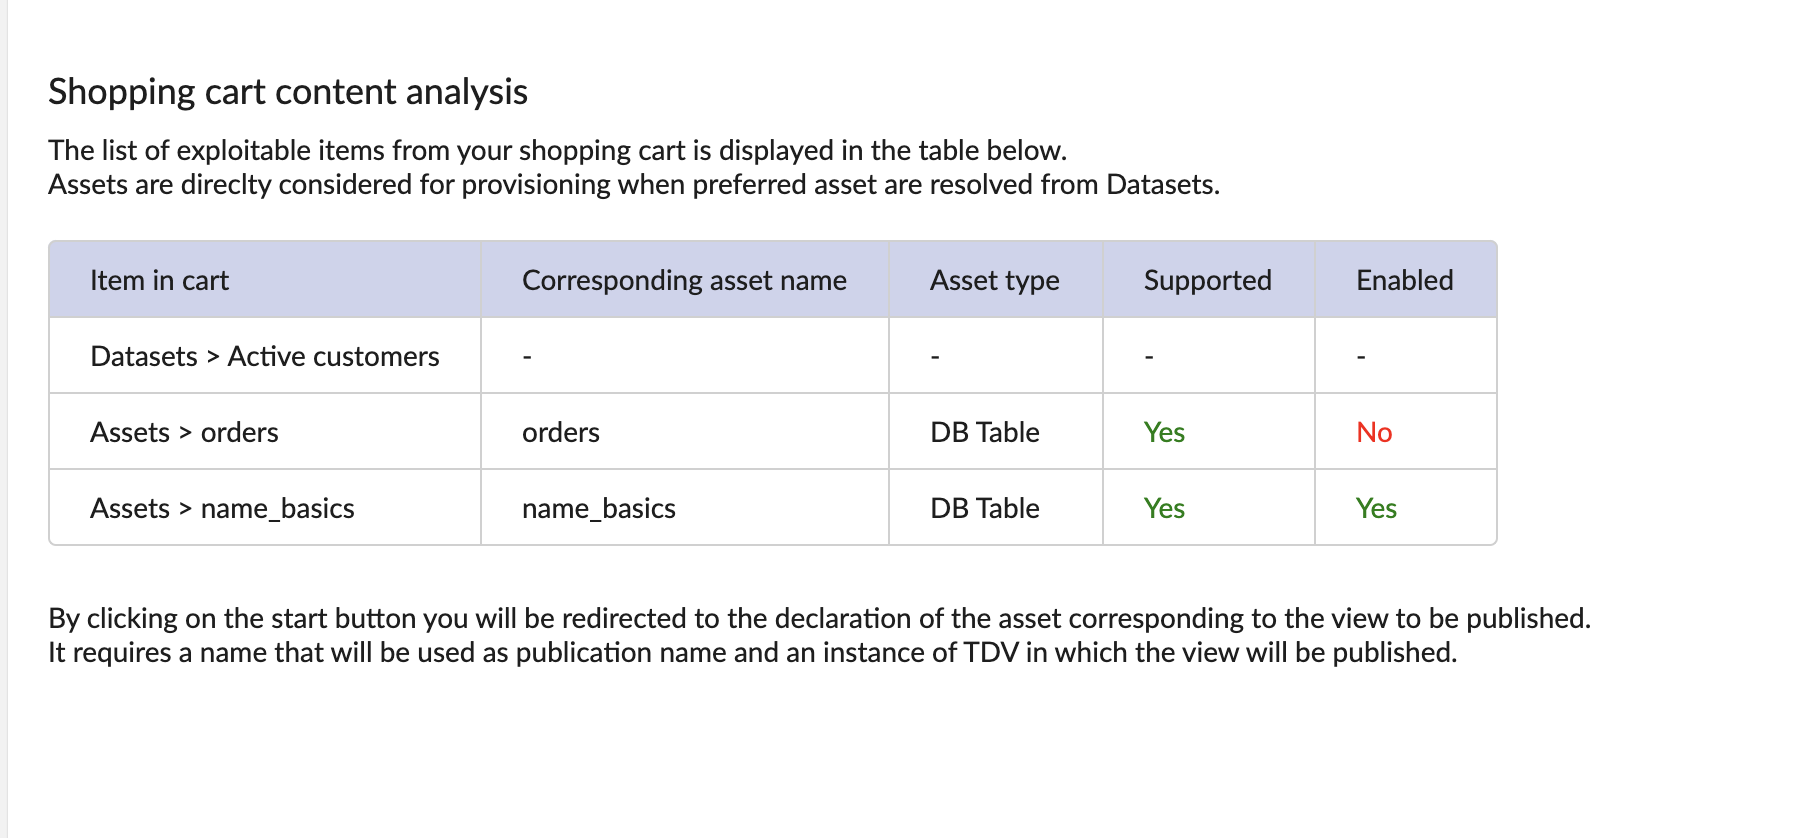
For each element, will be displayed the following informations :
| Item in cart | Name and type of item |
| Corresponding asset name | Asset found (directly or with preferred asset of the dataset). |
| Asset Type | Type of asset (will help the resolution of supported elements). |
| Supported | Only certain types of assets are supported : DB Table, CSV File, Worksheet. |
| Enabled | Disabled assets can not be used into a provisioned view. |
When you have reviewed these elements click on the ‘Start’ button.
Second step : fill view elements
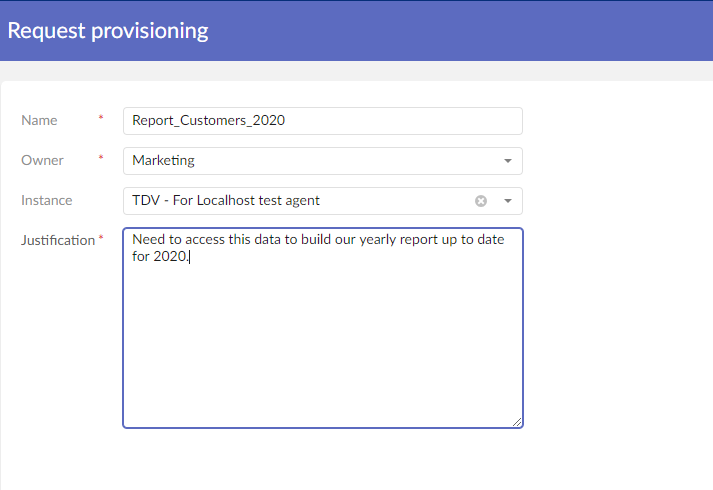
On this page, you’ll have to fill in key information for the view to be created. This view will be materialized as an asset in TIBCO Cloud™ Metadata data. This asset must have a owner and must be located in an instance of TDV where the view will be created. A justification will reviewers and approvers to qualify you request.
The instance of TDV available are the one that are automatically created on agent registration. See administration guide for more details.
Third step : review
This step occurs only when a reviewer has been configured in the administration (See administration guide as a static role or a dynamic role.
Forth step : approvals
This step occurs only when at least one approver has been configured in the administration (See administration guide as a static role or a dynamic role.
Fifth step : view finalization
When all elements are set, click on ‘Finalize’ button.
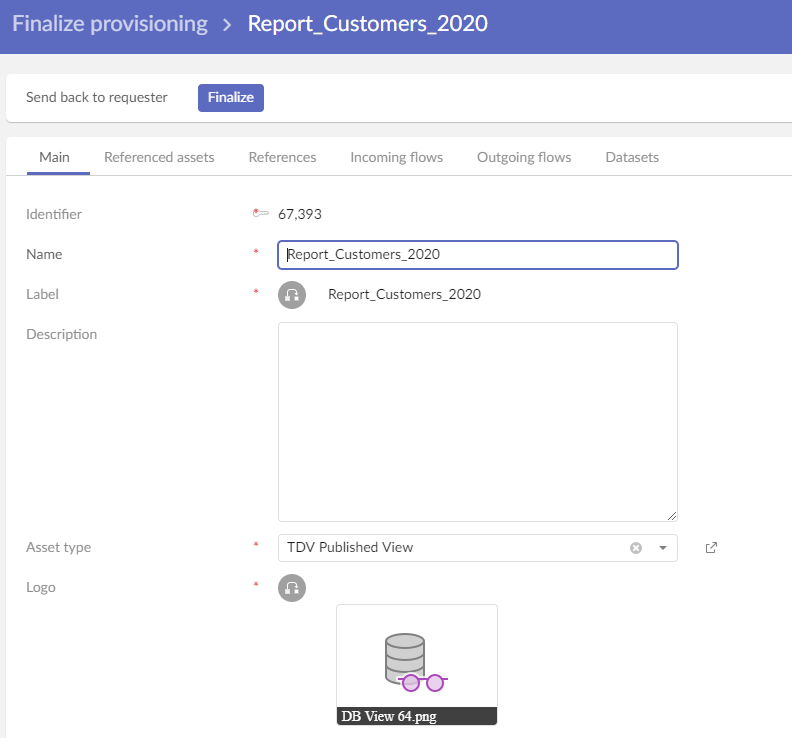
Validation
You can check the view creation in TIBCO Cloud™ Metadata assets table.
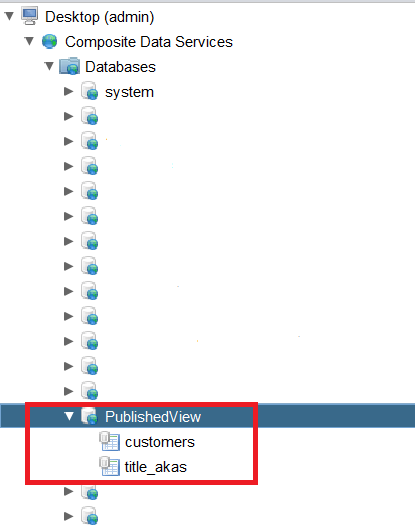
You can also check the creation of this Published TDV View in your TDV Studio.
Published View Updates
For TDV published views that were created using provisioning, the owner can perform update operations from TIBCO Cloud™ Metadata directly.
Add incoming flows to a published view
If you add an incoming flow to an asset of type TDV Published View, this will trigger a publication of the corresponding resource in TDV.
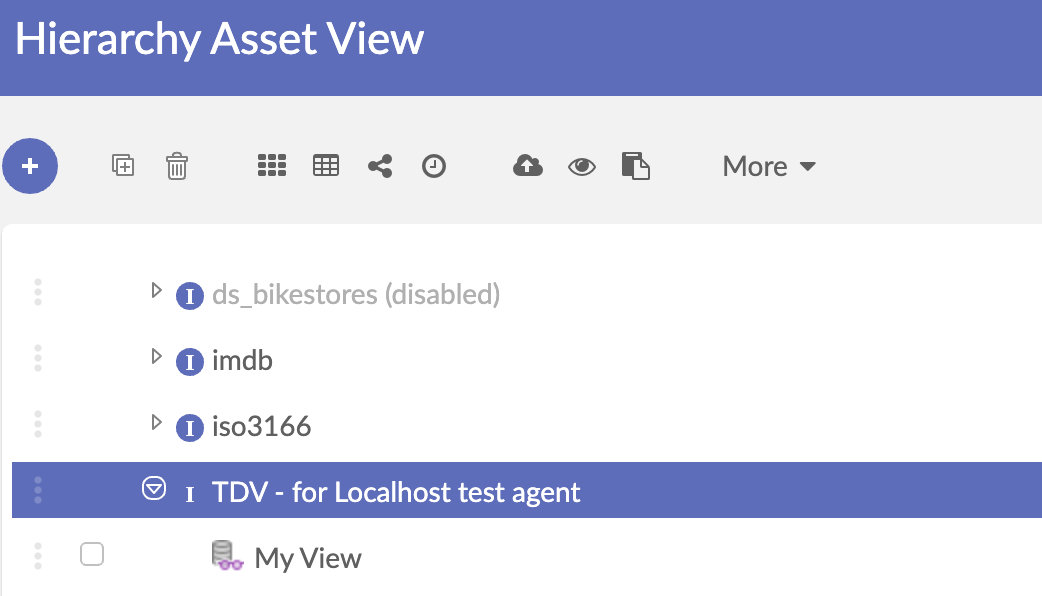
In the Metadata menu of the main control panel, select ‘Asset’ to access the Asset screen.
The main page listing all existing assets will be displayed.
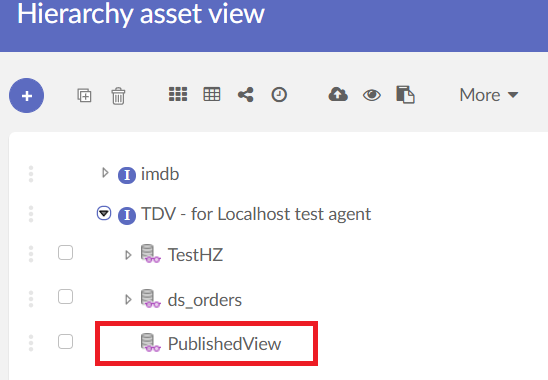
Open the TDV Published View asset that you wish to edit.
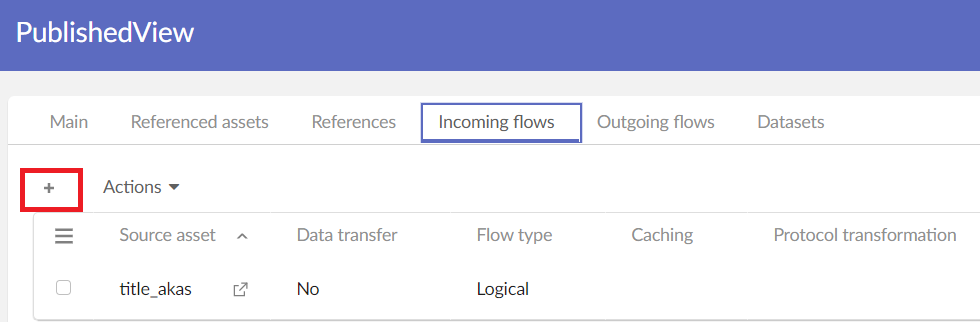
Record modification screen will appear. Go to the Incoming Flows tab.

Click on “+” button in the upper left corner to create a new technical flow.
Select a source asset. Only assets that are results of harvesting and can be published a presented in this list.
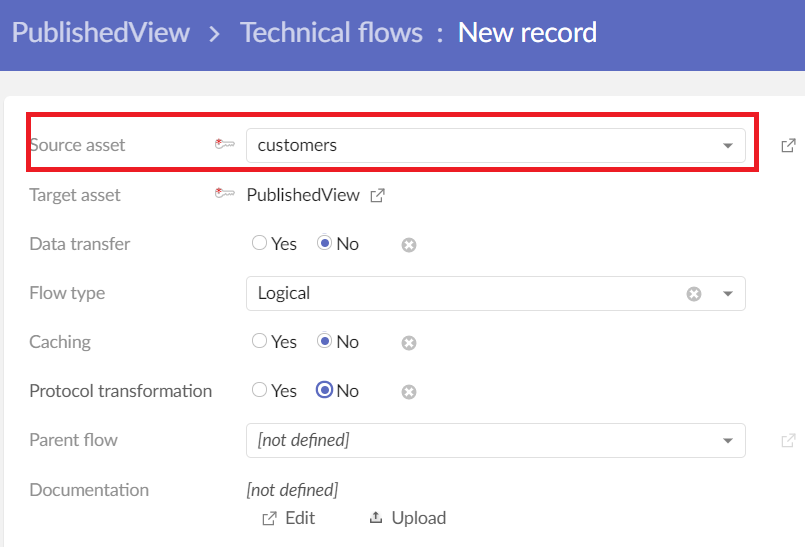
Click “Save” to validate creation of a new flow. Saving may take a little time because it will also create a corresponding publication in TDV.
Remove incoming flows from a published view
Delete incoming flow
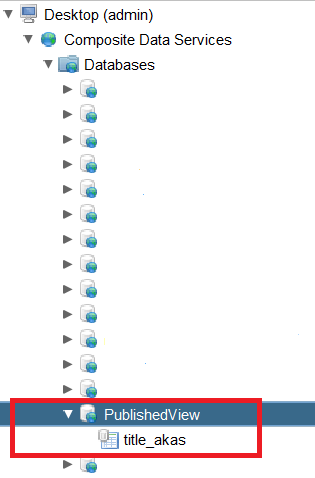
If you remove an incoming flow from an asset of type TDV Published View, this will trigger a removal of the corresponding published resource in TDV.
In the Metadata menu of the main control panel, select ‘Asset’ to access the Asset screen.
The main page listing all existing assets will be displayed.
Open the TDV Published View asset that you wish to edit.
Click on the ‘Edit’ button. Record modification screen will appear. Go to the Incoming Flows tab.
Select the flow you want to remove and select Delete service in the Actions menu.
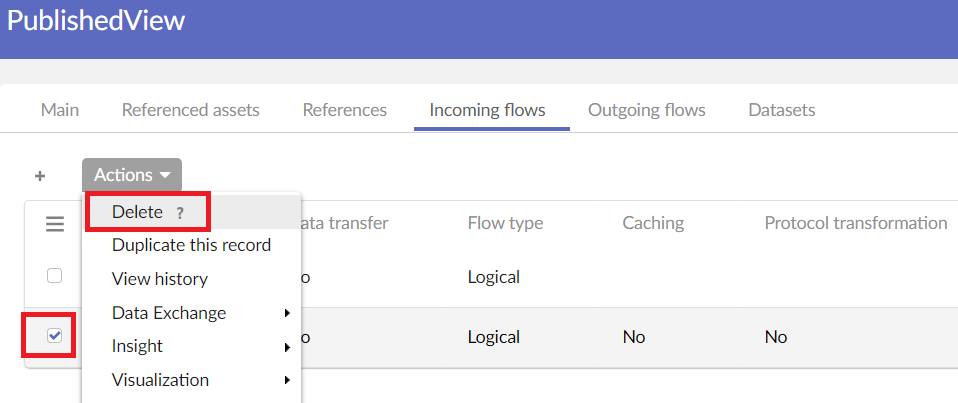
This will delete the technical flow and also the corresponding published element in TDV if one exists.
Disable asset used as incoming flow
If you manually disable an asset that is used as incoming flow for a published view, this will trigger a removal of the corresponding published resource in TDV.
In the Metadata menu of the main control panel, select ‘Asset’ to access the Asset screen.
The main page listing all existing assets will be displayed.
Select the asset you wish to disable and edit it.
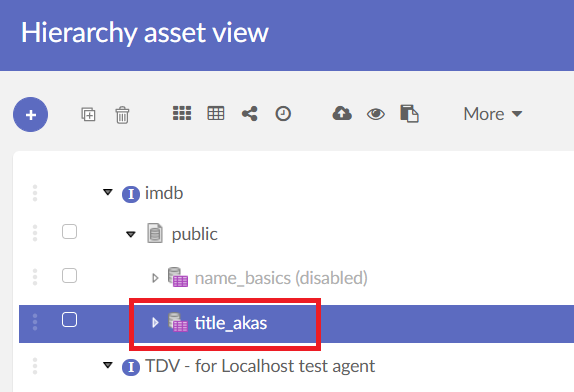
Set Disabled field to Yes.
A warning will appear indicating that this asset is used as an incoming flow for a TDV Published View .

This will delete the corresponding published element in TDV if one exists.